DevContainers on Windows without Docker for Desktop
A while ago, Docker changed licensing terms for their Docker Desktop product. As a result, many companies cannot use Docker for free anymore, which impacts using VSCode DevContainers.
In this blog, I will show you how to solve these licensing issues by using VSCode with WSL and podman instead.
Docker Licensing
The licensing change was announced in August 2021 and went into effect end of January 2022. While many companies probably have yet to realize it, their installation base of Docker Deskop (specific for Windows) is now unlicensed.
Currently, Docker Desktop (not the Docker binary itself!) is only free if you are
- below 250 employees AND $10,000,000 of annual revenue
- using it non-commercially or for education
While subscription fees are pretty sensible (between $5 and $21 per month and user), bigger companies usually have a bigger problem with their internal procurement process, meaning getting approval to get something might take forever or be outright denied.
This situation makes local Docker usage almost impossible for many people; thus, the easy-to-use DevContainers from VSCode move out of reach.
Or do they?
VSCode DevContainers
If you have been following my posts, you know I am a big advocate of VSCode’s DevContainers. They bundle the whole development environment with your code repositories and are a big step towards parity between developer environments and production.
The ability to include the same tools and versions as in your testing or production environment, placed in a containerized sandbox, makes working so much easier and quicker.
DevContainers are part of a full extension family within VSCode, implementing various ways of remotely accessing systems:
If you are used to finding ways around a problem, such as Docker licensing on Windows, you probably immediately spotted the opportunities with the last listed extension: WSL.
The Windows Subsystem for Linux (WSL) has been part of Windows for a long time. Its first version offered an API abstraction that enabled the use of lots of Linux tools on Windows. While this was nice, it suffered from limited functionality (e.g., in the networking area) and slow filesystem access.
That is why its most recent incarnation, dubbed “WSL2”, uses lightweight Hyper-V machines; it runs a complete Linux distribution (or more) with only a thin layer of indirection. You have access to your local filesystem and can even run graphical X11 applications since Windows 10 21H1.
The base idea is to use containers inside WSL without Docker Desktop. And, as we want to avoid going into some licensing grey areas, we will not even use Docker at all - but get the same functionality.
Podman
Entering the stage: Podman, a tool aimed to replace Docker for those who want to. It is an OCI-compatible runtime, meaning it will be able to use the same Docker Images we all got used to. But on top of that, it is also fully compatible on the CLI level. You can replace docker in your CLI calls with podman, and everything will work regardless.
And, great for our use case, it is free and does not need any license.
Configuration
For this part, we assume that your friendly IT administrators allow you to use the Windows Store, have Hyper-V enabled, and can use WSL.
Install WSL
Installation of this got straightforward. While you had to enable developer features or install patches in older versions, we are now at a state where you can install the WSL2 feature by entering the following:
wsl --install
This will take you to the Windows Store, and within minutes, you will have the system available. It also instantly comes with Ubuntu as the standard distribution.
To access your environment, I strongly recommend using the new Windows Terminal by Microsoft, also available on the Windows Store. This tool includes CLI tabs, a high degree of customization, and even native WSL support to open Linux-based windows.
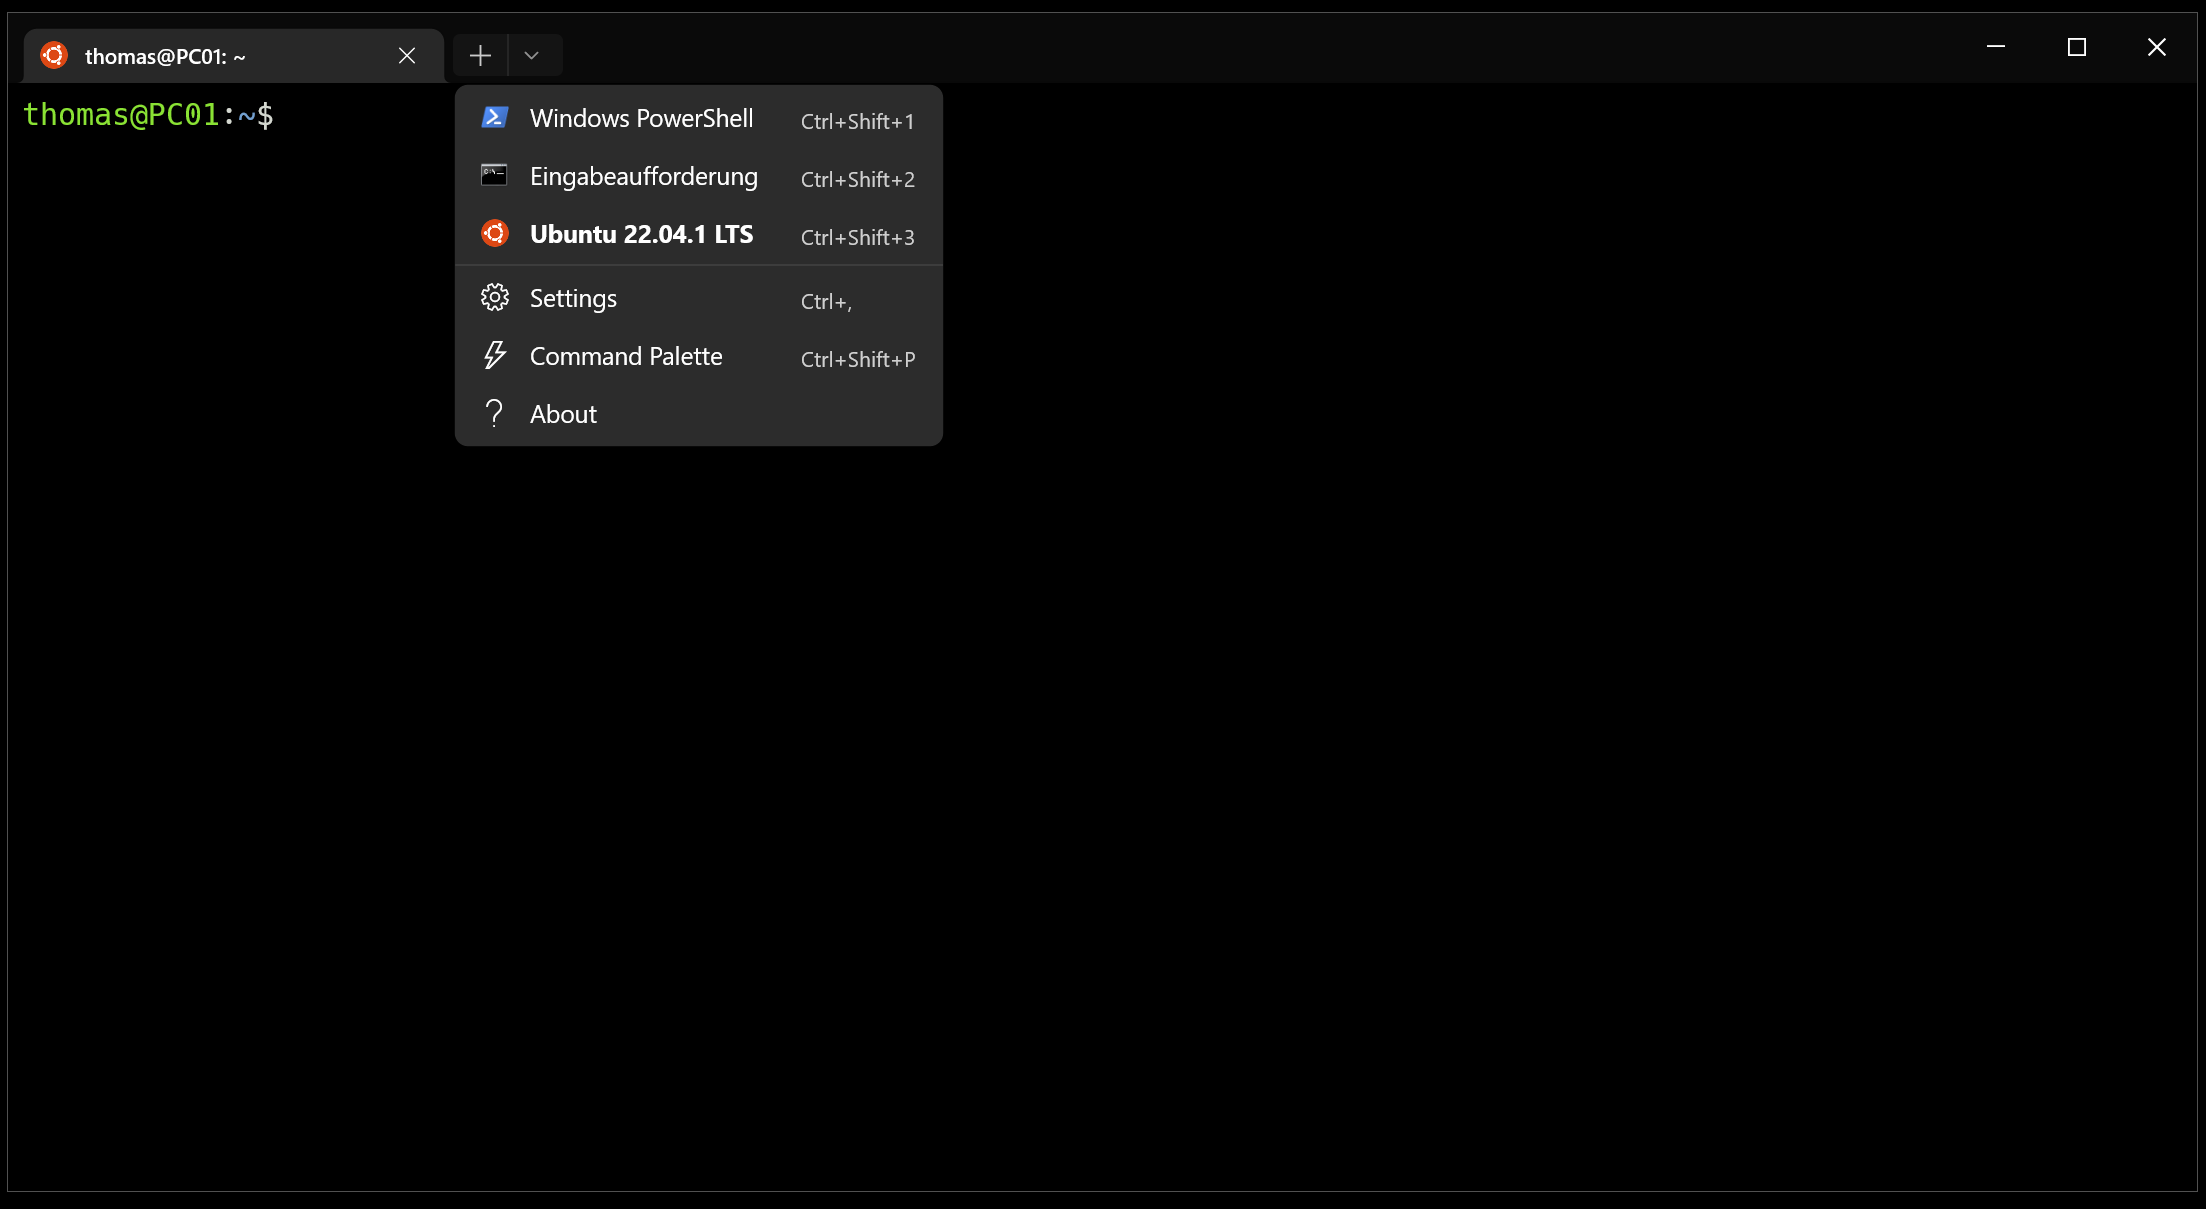
We are not entirely done, though. By default, WSL2 does not include SystemD, a dependency for podman (and many other tools). Open up a terminal window into WSL (in Windows Terminal by clicking the down arrow next to the plus symbol).

Now, edit your /etc/wsl.conf file:
[boot]
systemd=true

[user]
default=yournamehere # You set this during WSL installation

# Sometimes resolv.conf generation causes DNS problems. Uncomment in this case:
# [network]
# generateResolvConf=false
Back on Windows, restart the WSL via wsl --shutdown to use these new settings. If you now open a WSL window again, you can install Podman.
Install Podman in WSL
For Podman, we do not need to add third-party repositories because the WSL-provided Ubuntu has a pretty recent version in its default packages. And as we just enabled SystemD, many workarounds (changing your Bash profile to set XDG_RUNTIME_DIR, changing options in /etc/containers/containers.conf) are obsolete.
# This is all you need to do inside a WSL window:
sudo apt update && sudo apt install podman
To check if this worked, start a small container and see it downloaded and invoked:
podman run -it docker.io/library/alpine:latest
Now let’s exit that and configure VSCode.
Configure VSCode
Luckily, requests for working in WSL and with Docker inside of it have been around for a while. As a result, we do not need any workarounds either because there are already settings for everything.
In VSCode, go to your settings page:
- Option Dev > Containers: Docker Path (
dev.containers.dockerPath): set to/usr/bin/podman - Option Dev > Containers: Execute in WSL (
dev.containers.executeInWSL): Check this box - Option Dev > Containers: Execute in WSLDistro (
dev.containers.executeInWSLDistro) will only be needed if you have multiple WSL distributions installed
Summary
With this one-time setup, we can use DevContainers, speed up our development workflow, improve consistency across all stages, and not have any considerable administrative discussion about Docker licensing anymore.
Have fun!
