Place products on the AWS Marketplace - Seller registration
Let’s go and shop for something. I bet almost everyone of us has heard that sentence in the past. But where do we go then? A Supermarket, shopping center, or marketplace could be one of the answers. For this blog article, I’d like to give you some insights about how to publish your products within the AWS Marketplace.
The good thing is almost everyone jumped once over the wording of AWS Marketplace. At least when you have created an Amazon EC2 instance within the AWS Management Console where you can search and filter for more AMI options like CentOS or RedHat. Those are available through the AWS Marketplace.
Most people, including me, never thought in more detail about the AWS Marketplace. But it is an excellent opportunity to offer your products, which could be in one category of Server, SaaS, Machine learning, Data Products, or Professional Services. Each category contains more detailed options and is handled differently.
The AWS Marketplace
But before we begin, let’s get an overview of where the AWS Marketplace comes from and how it works. Back in 2012, AWS announced the availability of the AWS Marketplace. It started with the main focus on EC2. Until then, it extended its categories to the beforementioned ones. Today, the amount of products is more than 25,000 when doing a general search. The main focus since then has been on Infrastructure Software but Machine Learning, and IoT is growing.
Register as Seller
With this background information, we should start registering our account. When we finish the registration and add more information to our account, we can publish free products. Before we begin, a side note from my side: I have seen several things during the registration and publishing of products in the AWS Marketplace. I will add them as annotations to ensure you know them.
Let’s start with the registration as a seller!
- Login to your AWS Account into the AWS Management Console (you need at least
AWSMarketplaceSellerFullAccessrights (I recommend creating a standalone account outside of an organization) - Go to the AWS Marketplace Website and choose Sell in AWS Marketplace in the top right area
- Choose Register on that new site (the orange button near the top left side)
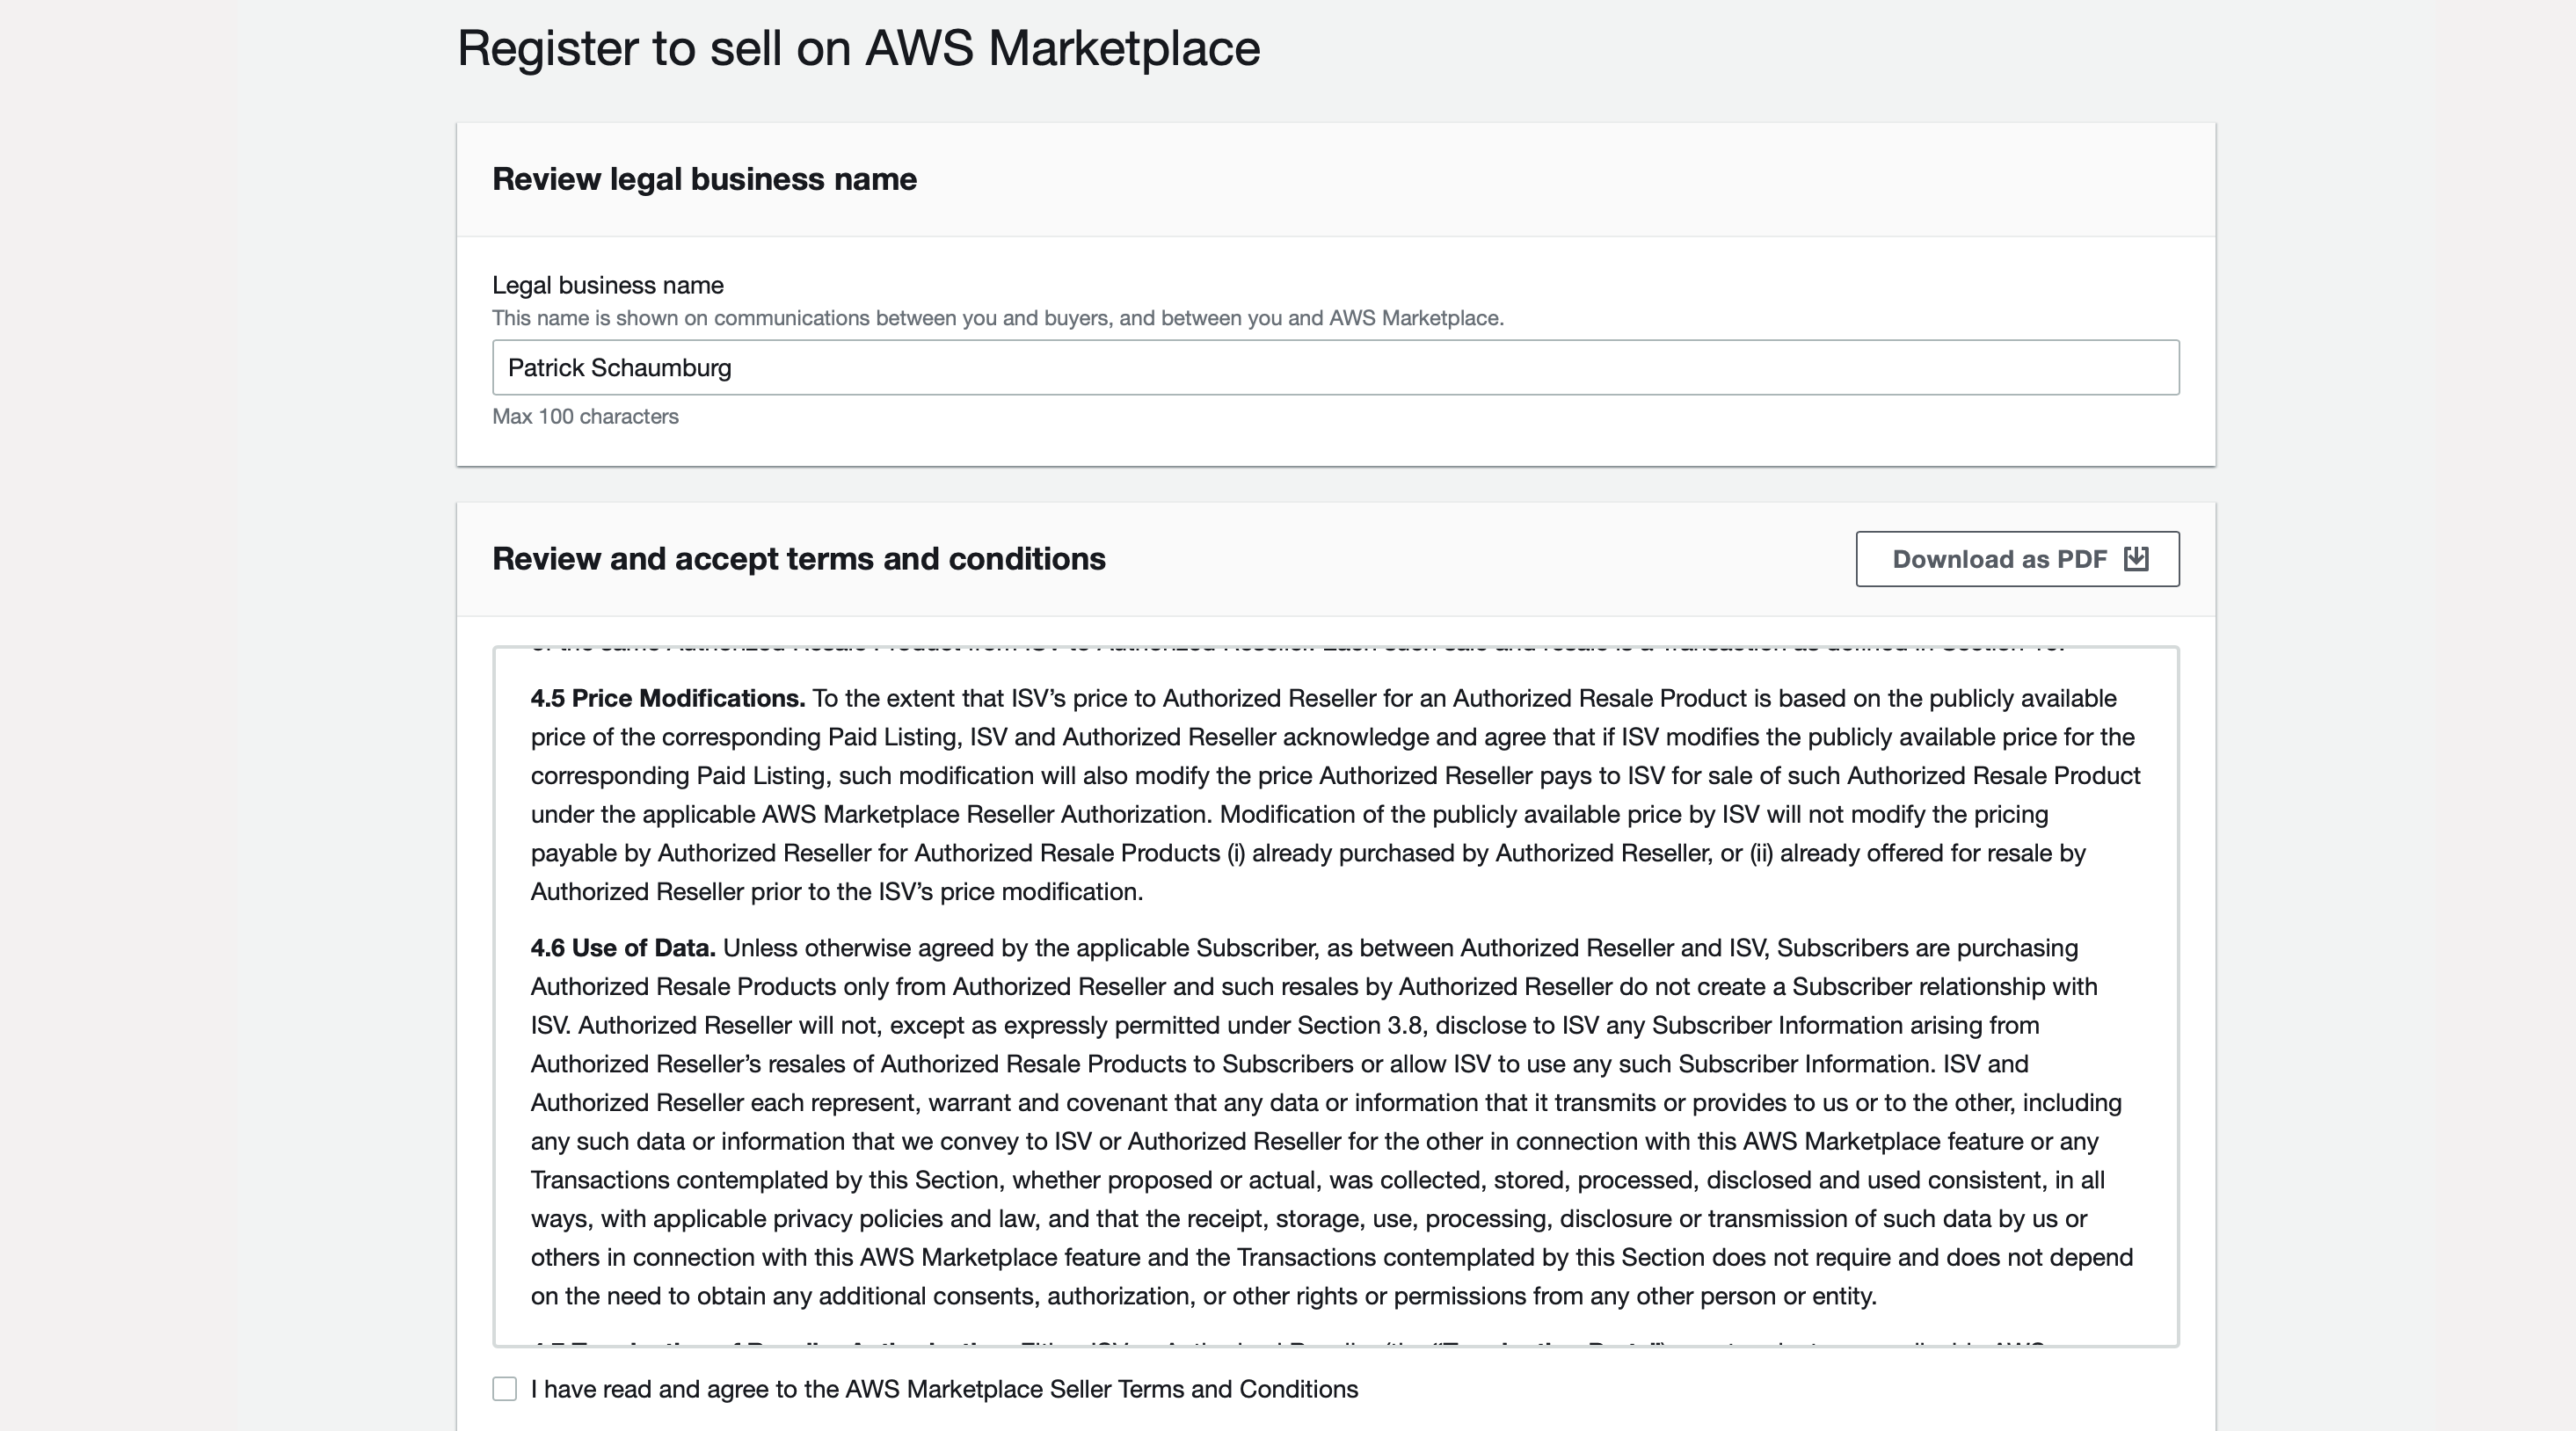
As we are now in the registration process, we have to register ourselves:
- Legal business name: This part is the most important. Use your official legal entity name. It can not be changed after registration, and another AWS Account can not register for the AWS Marketplace a second time with the same name.
- Terms and Conditions: Please review and accept them, if you are OK with them
- Tell us about yourself: Only the first answer is required; all other answers are optional

- When all required information is added, click on
Register & Sign into Management PortalYou are now redirected to the AWS Marketplace portal.

As you might have already recognized, your Account status is Incomplete.
Don’t be worried. This is normal.
- The next step: Add a public profile to your AWS Marketplace Account
- Logo: The maximum file size is 500 Kb and will resize to a maximum solution of 300x150 px (the ratio will be kept)
- Display Name: The name people can search for your company name (this could be a different one than your legal business nam)
- URL to website: The URL to your website
- Company description: Add a bio or company description with a maximum of up to 600 characters
When submitted, your profile will need only some minutes to be verified and updated.
The Account status should now be Publish free products.
You now have seen the general process of how to register for the AWS Marketplace. From now on, you are ready to publish your free products within the AWS Marketplace.
To sell paid products, you must add more parts, like a bank account and tax information.
Thank you for reading!
— Patrick
